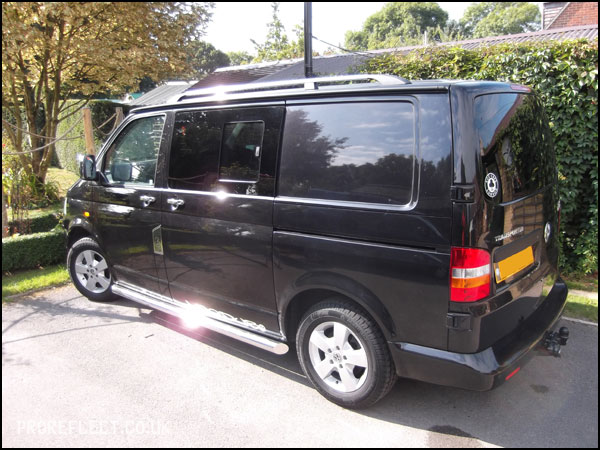
A new client that has owned this VW Transporter T5 T30 for little over a year. The T5 is actually in really good condition considering a lot of these Transporter’s are usually driven for commercial use and subsequently have loads of little dents or previous damage resulting in poor bodyshop repairs. That said, the previous owner had put in a lot of scratches through carelessness and my client wanted these removed or at least softened. Therefore it was booked in for an Enhancement Detail over a period of 3.5 days.
This is how it started.
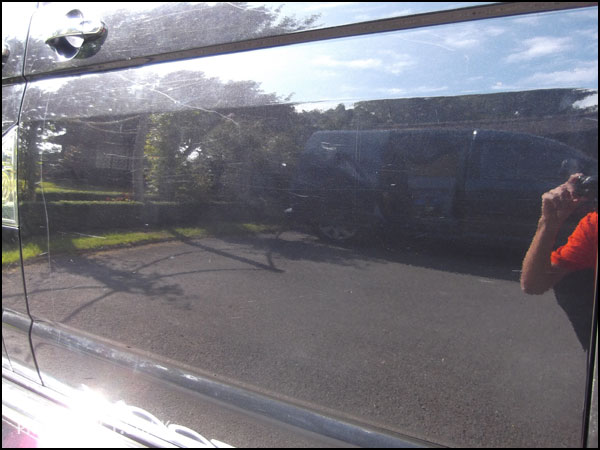
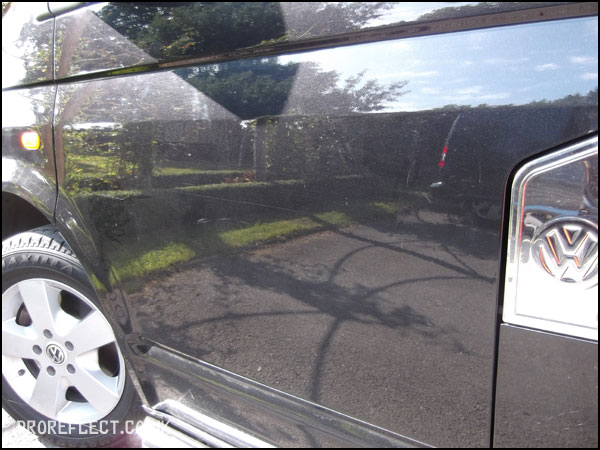
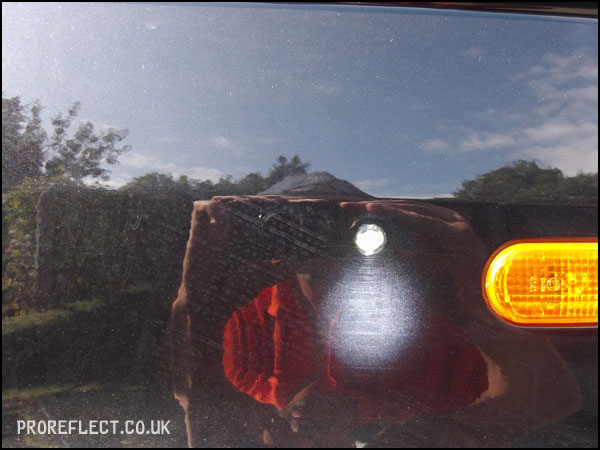
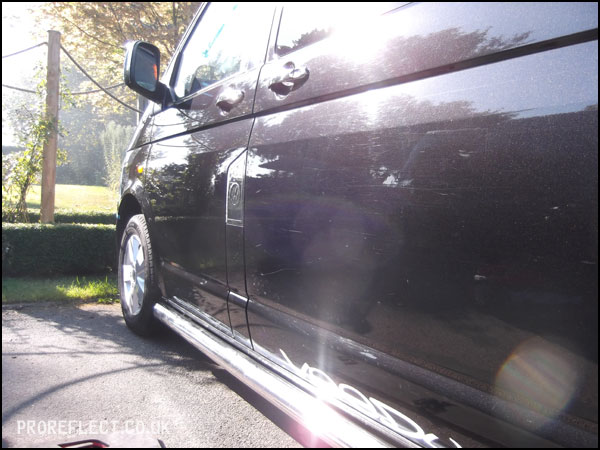
Some of aforementioned scratches. The passenger sliding door had a couple that were straight down to the primer.
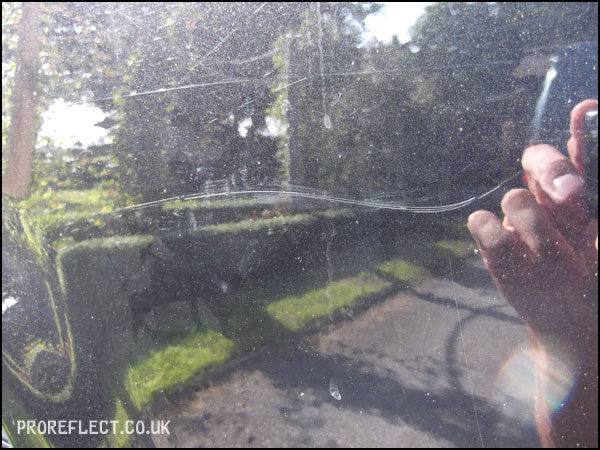
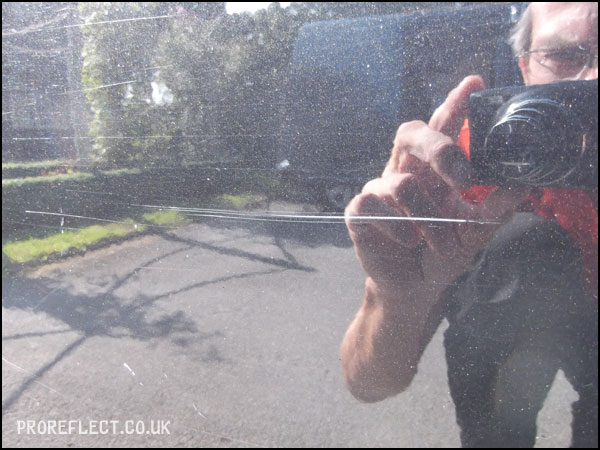
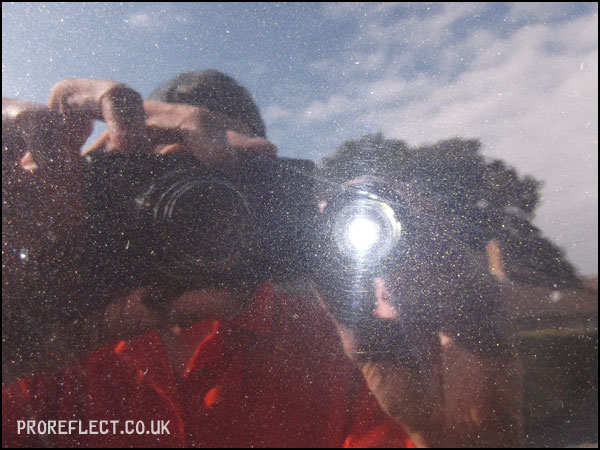
The T5 was covered in the usual fine swirls and holograms from years of washing.
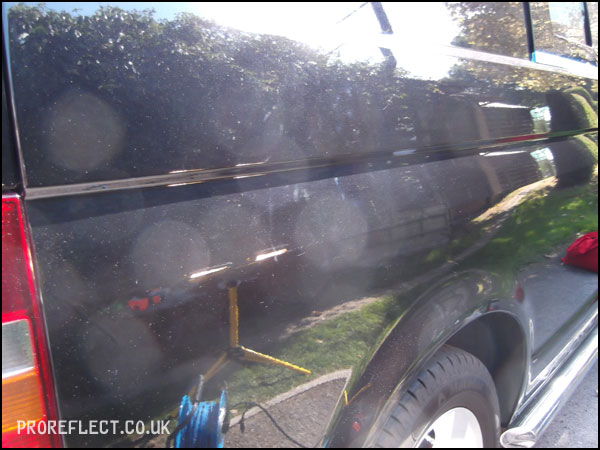
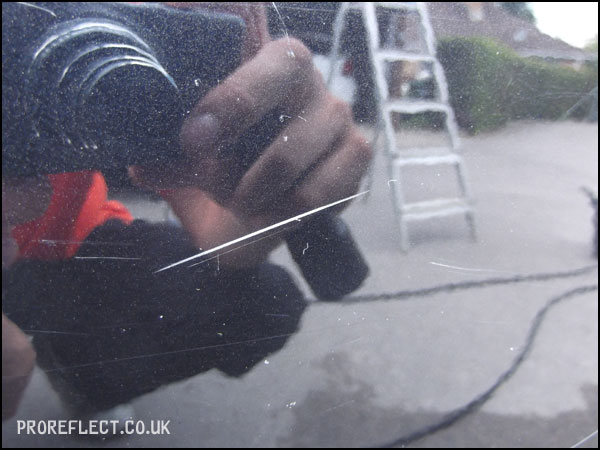
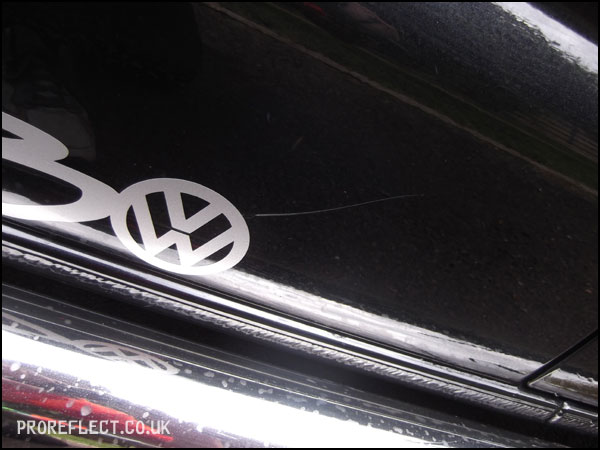
Suntan lotion that has been left to dry leaves an instant print on the paint that usual hand polishing won’t shift.
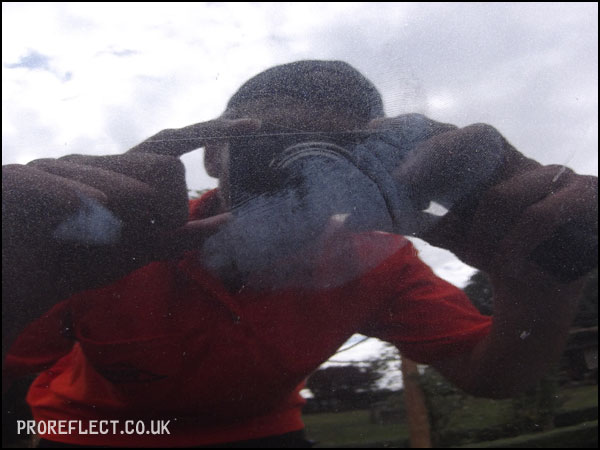
More fine scratches.
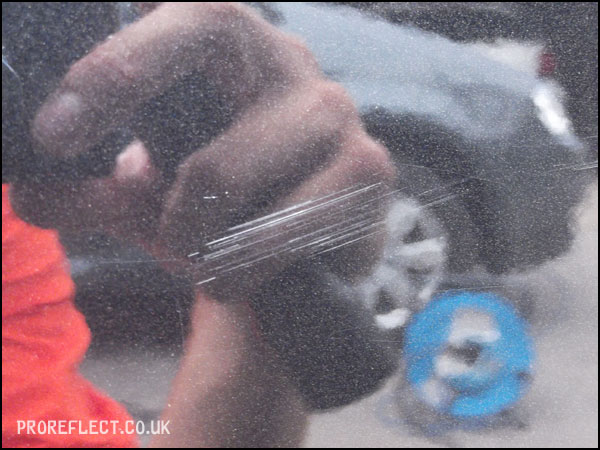
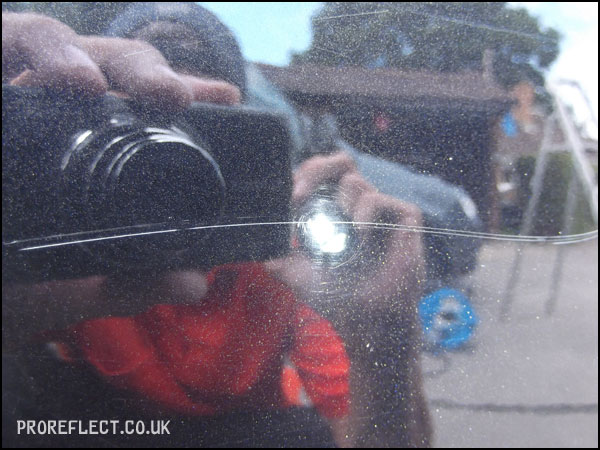
First up the wheels were given a thorough clean using Bilberry Wheel Cleaner, CarPro Iron-X and various brushes. Very little iron content to remove.
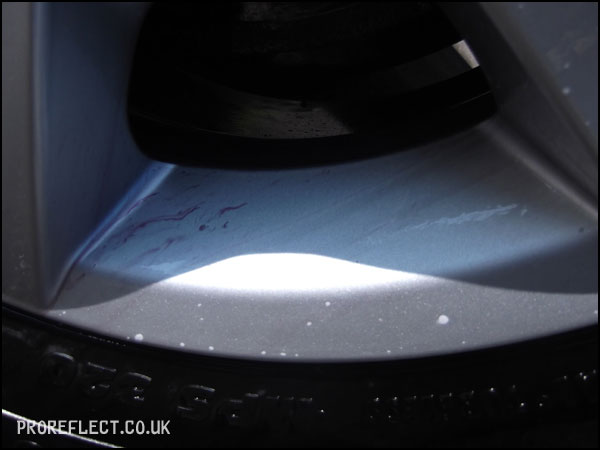
The plastic arch liners were covered in tar and therefore CarPro Tar-X was used to safely remove this.
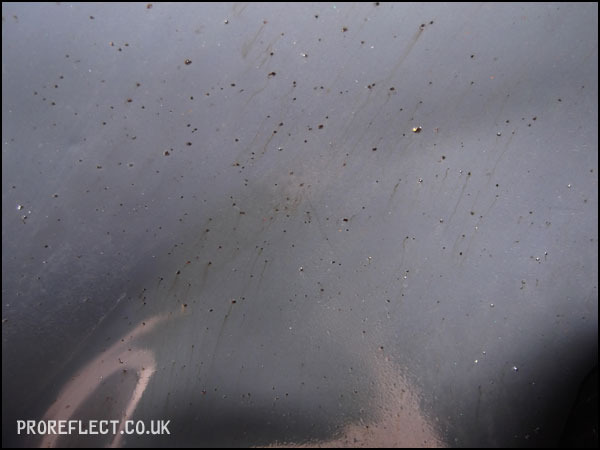
Looking much better.
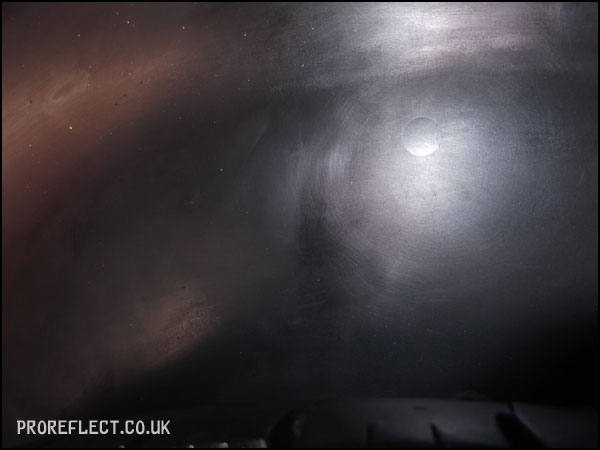
The remains of the beam convertor stickers following a recent trip abroad.
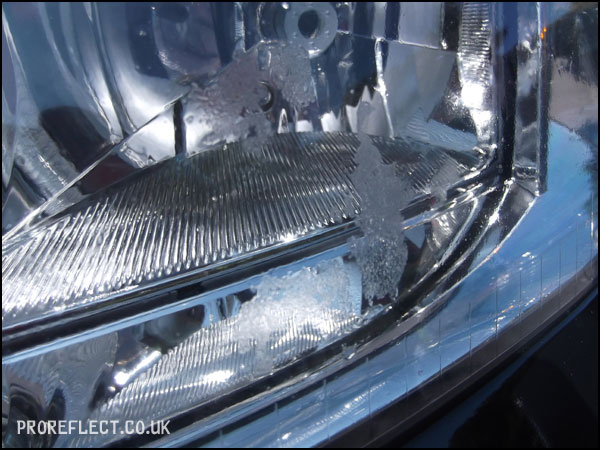
Removed using CarPro Tar-X.
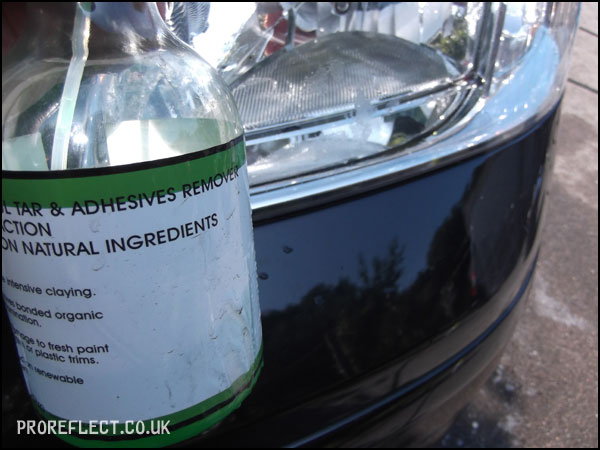
The T5 was washed using a two bucket method using Chemical Guys Strong Wash to remove any previous polishes and waxes before being clayed. A lot of tar spots were also removed at the same time.

Half a day later, the T5 was ready for paint correction – starting with the passenger wing. Paint depth readings showed that there had been no previous bodyshop work and everything was nice and even.
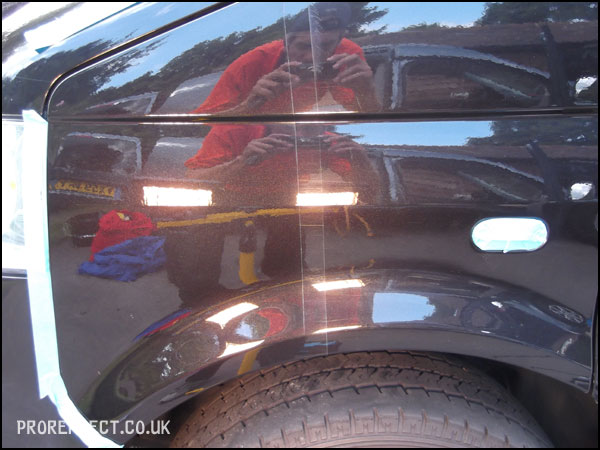
The paint, as with a lot of German vehicles, was super hard. Scholl S17+ on Meguiars Microfibre Cutting pad gave good results. Later refined with Menzerna PO85RD.
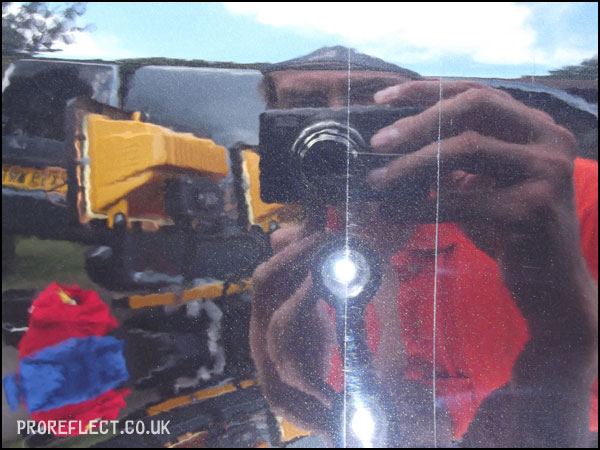
The pace was slow but the results were good. The sliding door below has not been corrected but shows the difference of that of the passenger door.
Rear lights always get swirls….
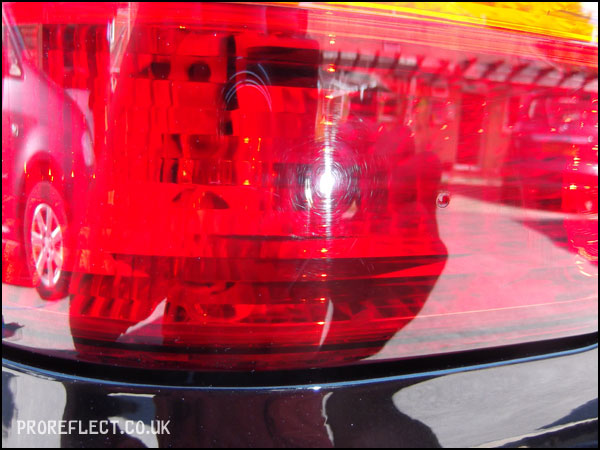
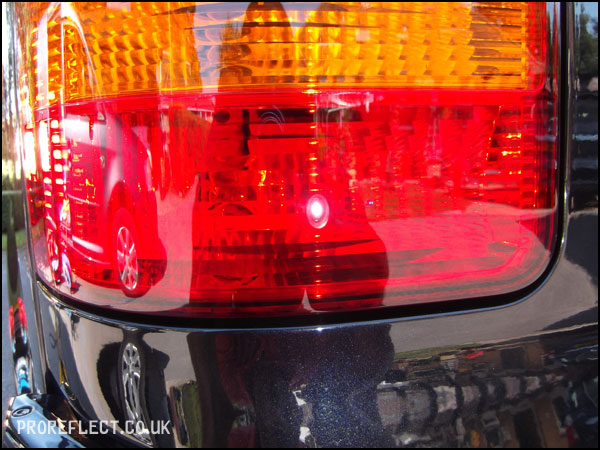
….looking much better.
Some of these scratches were too prominent but luckily not too deep. Although deep enough for conventional polishing to remove.
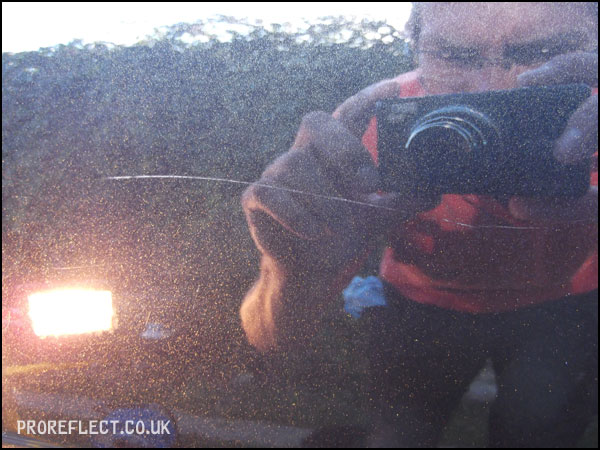
Careful wet-sanding with a 2500 grit paper allowed for removal times to be reduced.
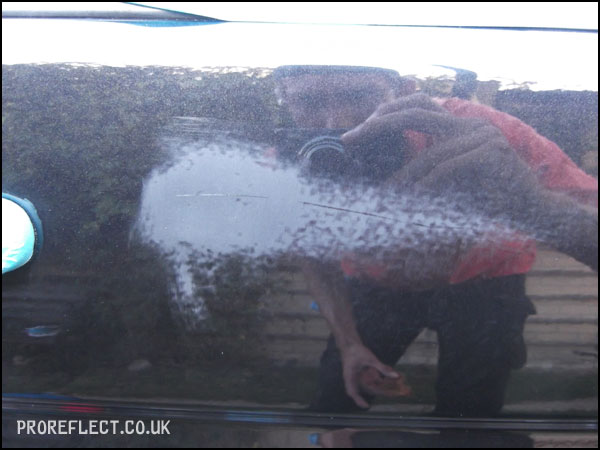
The left part of this scratch was too deep to fully correct safely but overall the end result was a marked improvement.
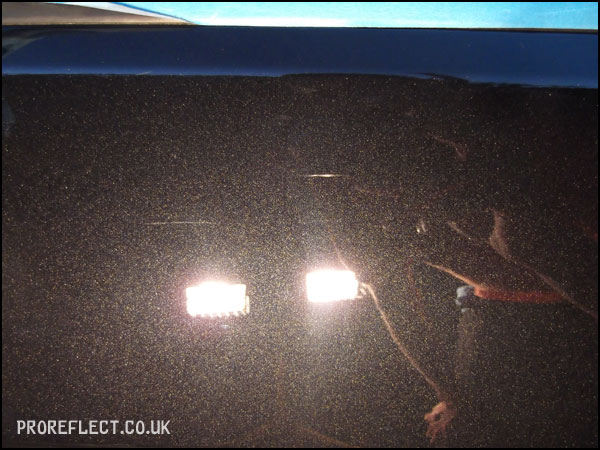
At the end of day two, there was still a long way to go but the client was happy with the progress so far.
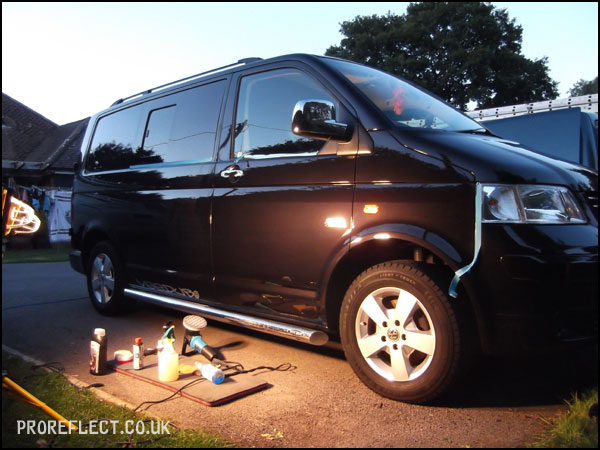
With the paint correction complete, it was on to the interior. Plenty remains of sticky sweet wrappers in the many cubbyholes including a leaky lip gloss tube.
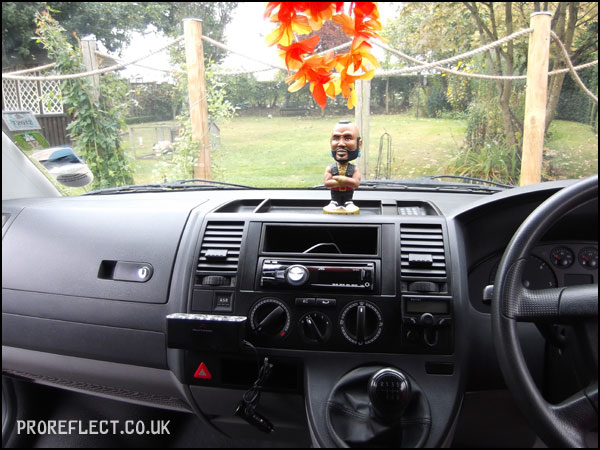
Meguiars All Purpose Cleaner used to clean all plastics.
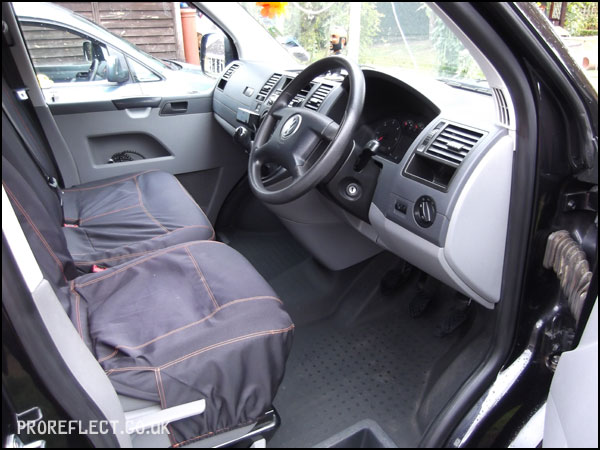
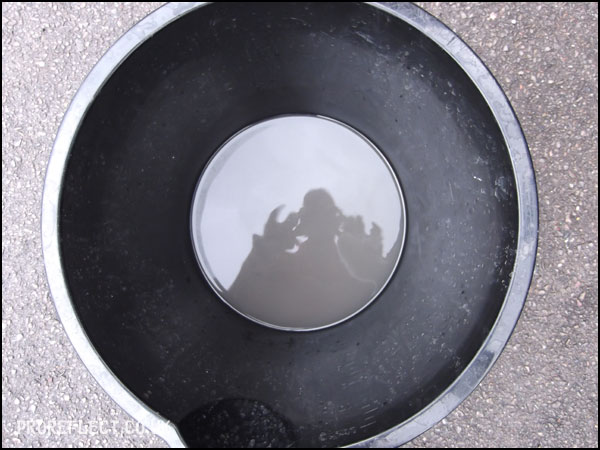
This water was once clean but it is amazing how much muck can be removed dashboards even if they look clean to start with.
The T5 was then wiped down with CarPro Eraser to remove any polishing oils and then a layer of Gtechniq C2V3 was applied. All glass cleaned with Autoglym Fast Glass. The side rails were cleaned using Autosol and then protected with Gtechniq C2V3. All door seals were treated with 1Z Gummi Pflege Stift. The wheels sealed using Poorboy’s Wheel Sealant and the tyres dressed with Meguiar’s tyre gel.
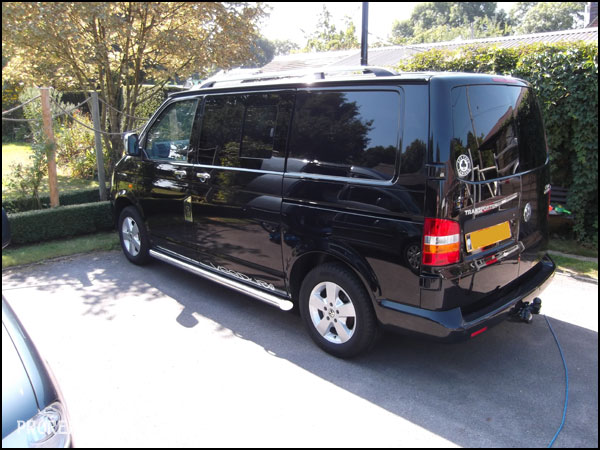
Sadly the sun decided to go away and it started to rain for the final shots.
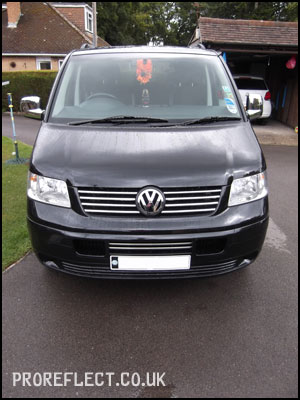
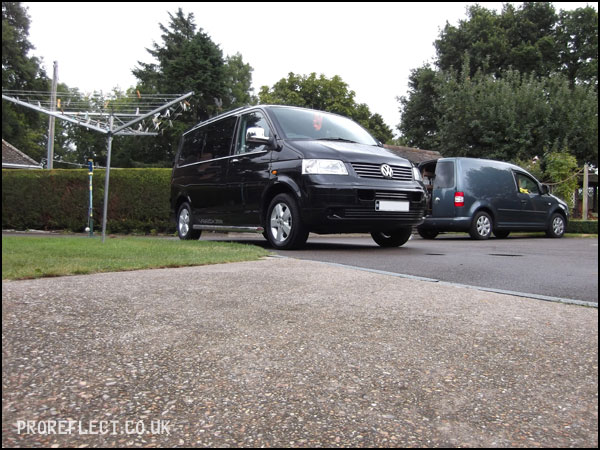

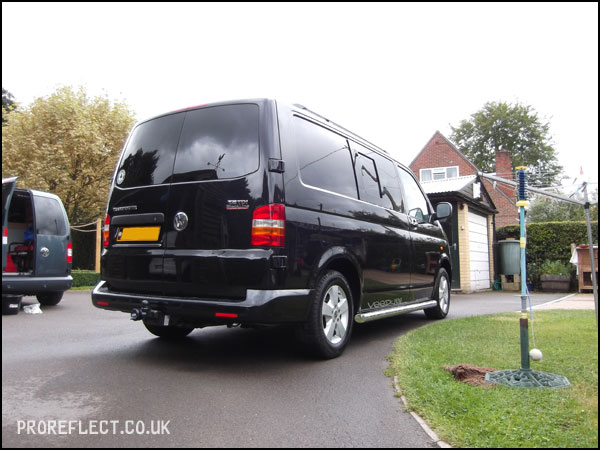
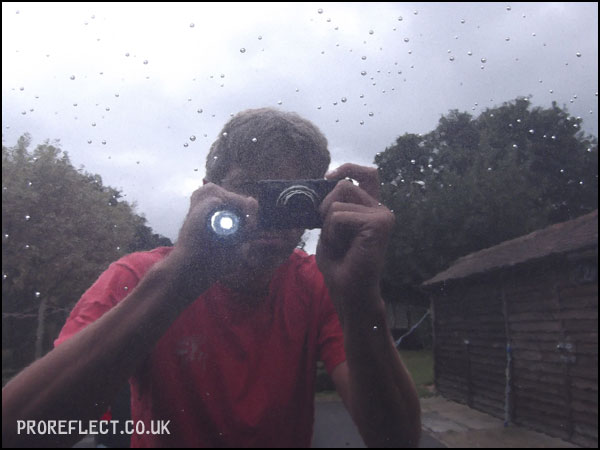
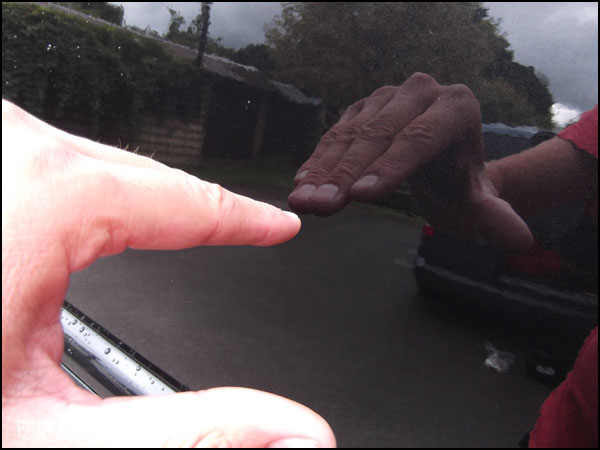
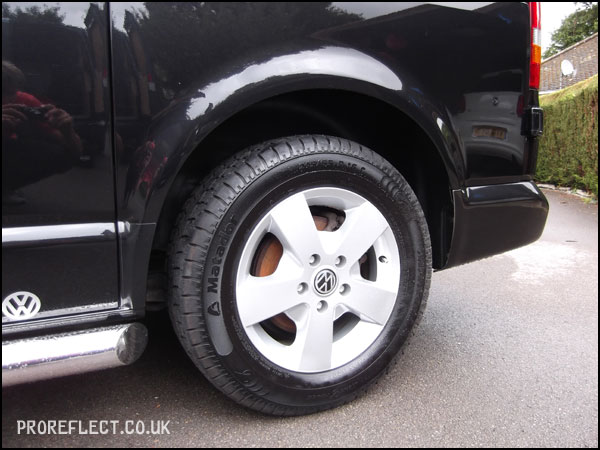

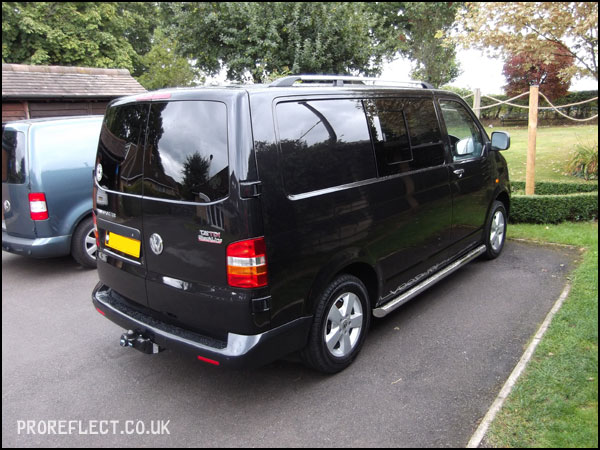
Although 100% correction was never possible with this T5 due to some of the deeper scratches that were present, it was nice to see the metallic flake in the basecoat finally make an appearance. The removal of the swirl marks and fine scratches has resulted in a deep gloss and together with the Gtechniq protection will make further cleaning easy.
